Step 1: Create Your Account
- Visit core.heysol.ai
- Sign up with your email
Step 2: Add Your First Memory
- Open the CORE chat interface
- Tell CORE about yourself: “I’m a software engineer working on a React project called TaskMaster. I prefer TypeScript and use Tailwind for styling.”
- Type
add to memoryto save this context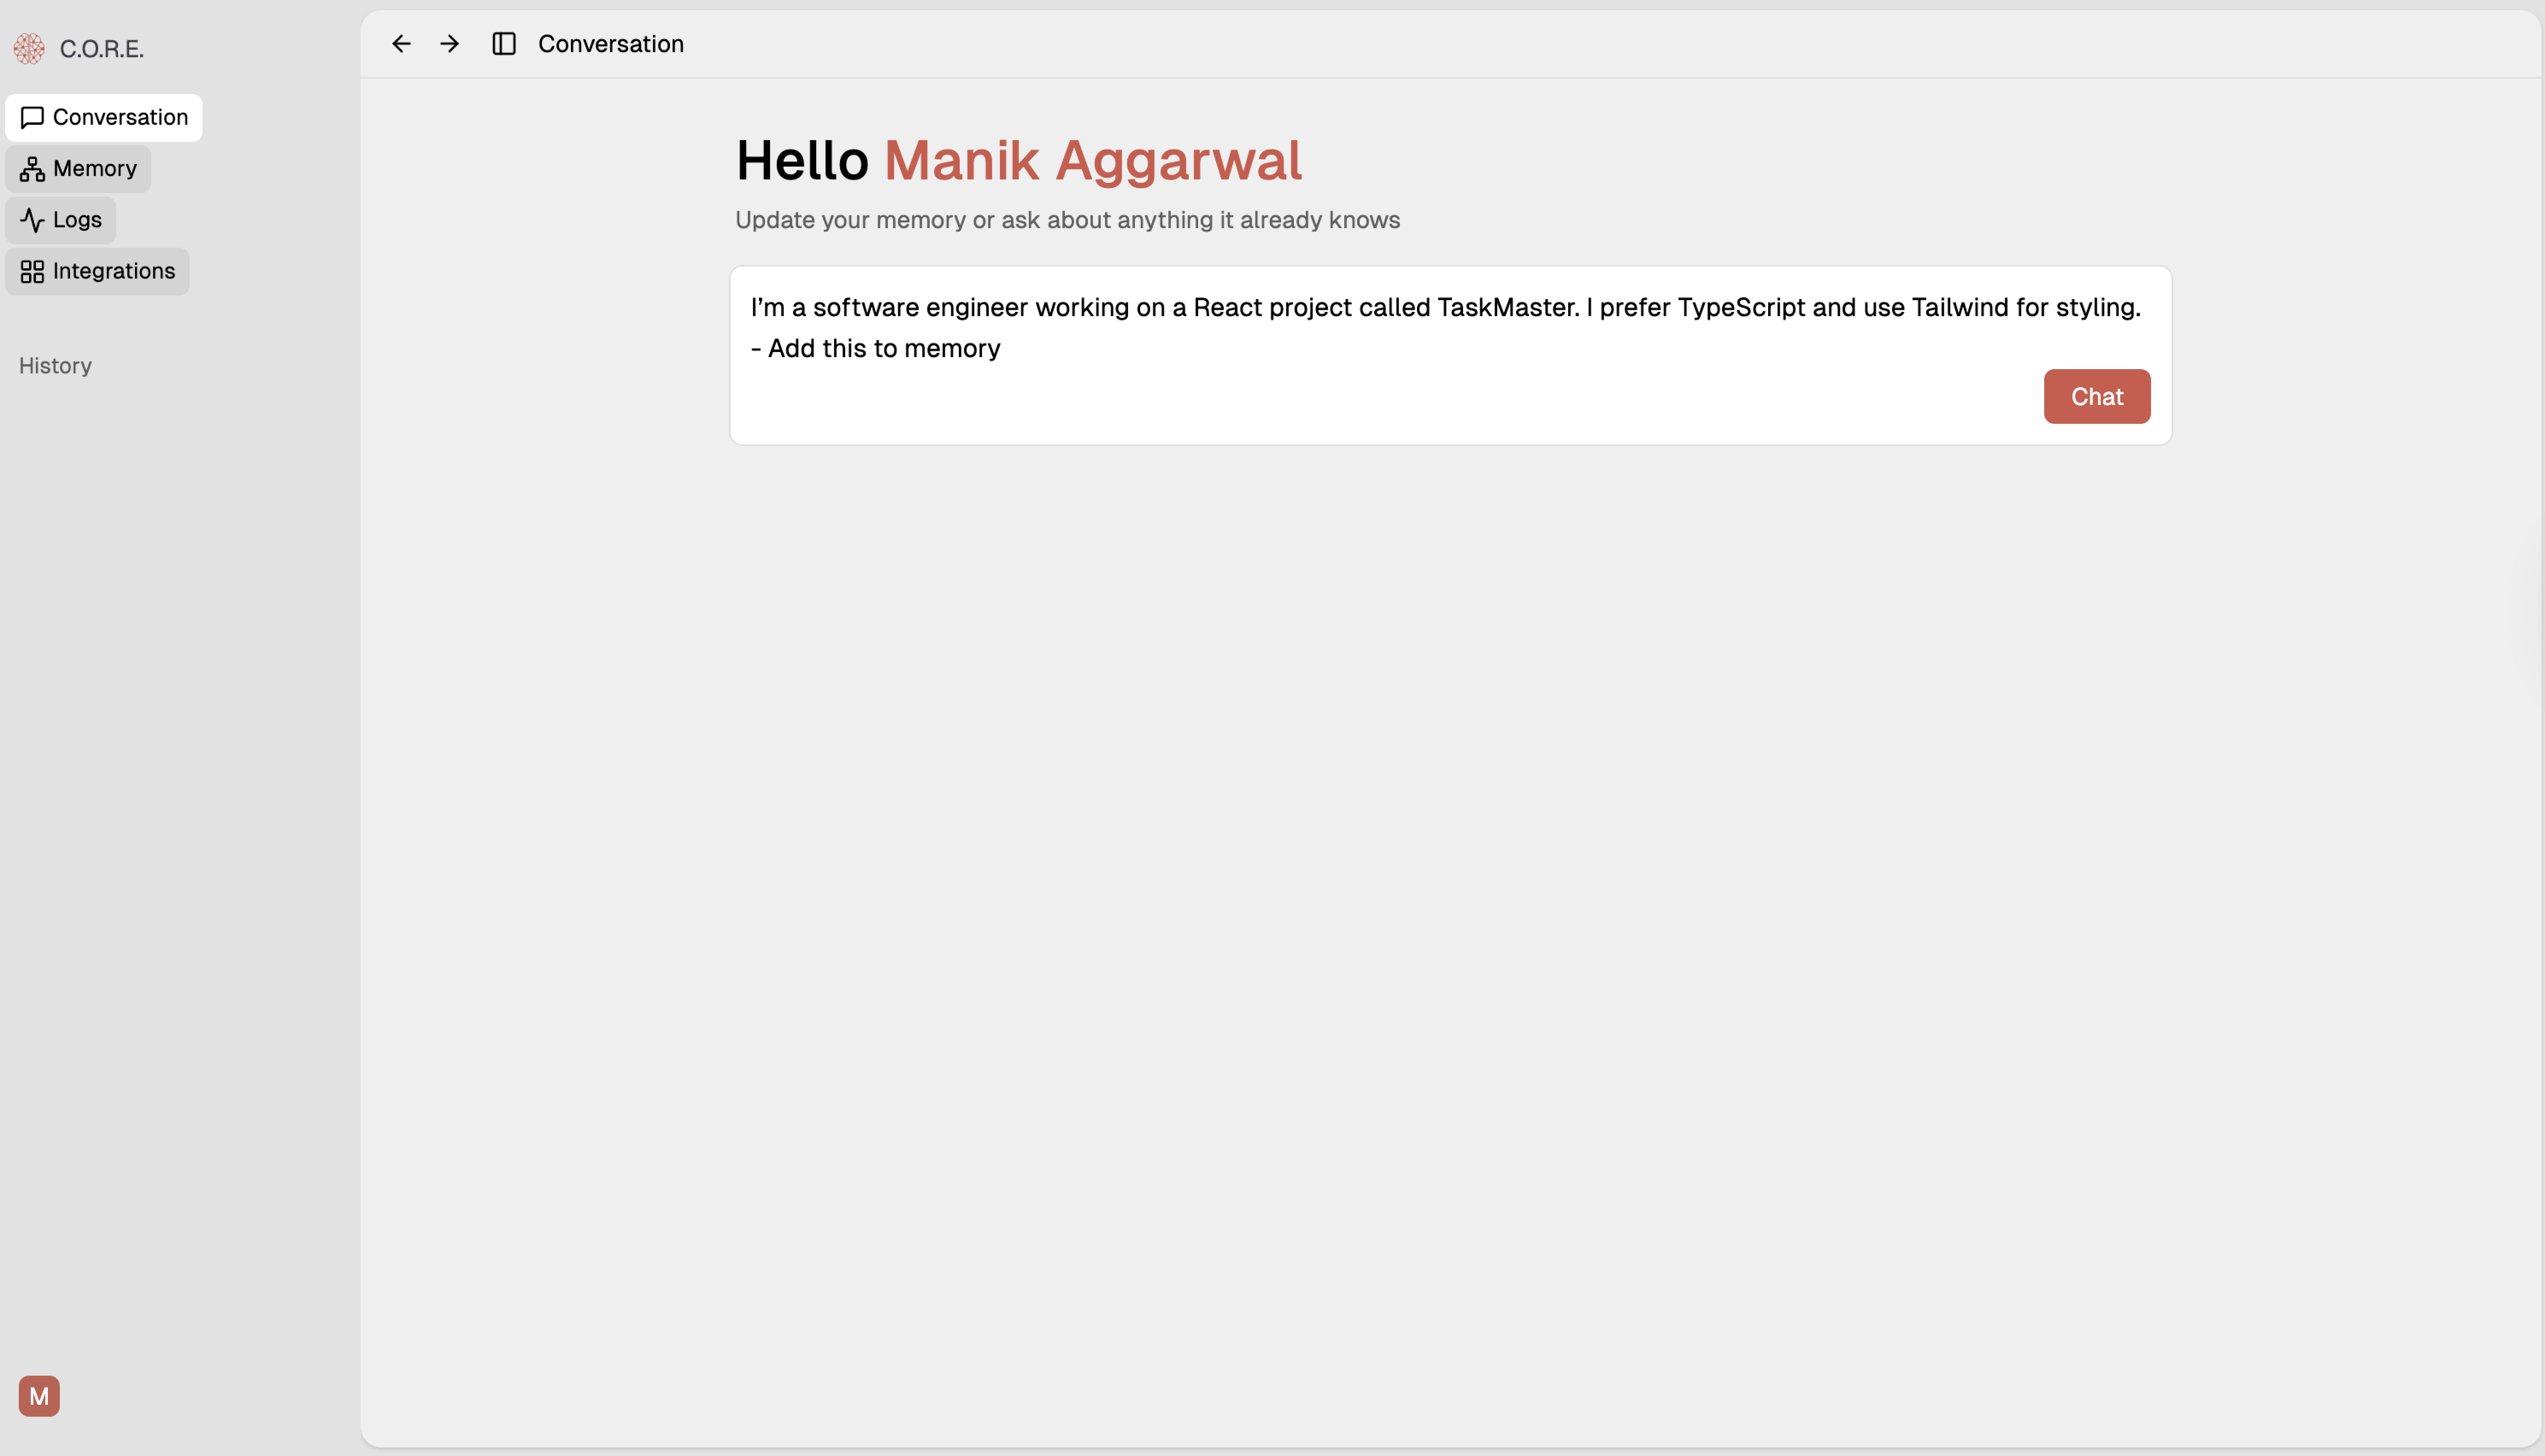
Step 3: See Your Memory Graph
- Navigate to the Memory section
- Watch as CORE visualizes your information as connected nodes
- Notice how it links “React,” “TaskMaster,” and “TypeScript” together
Step 4: Connect Your AI Tools
To enable cross-platform context, you need to connect CORE to your AI tools:- Connect Claude: Claude MCP Setup Guide
- Connect Cursor: Cursor MCP Setup Guide